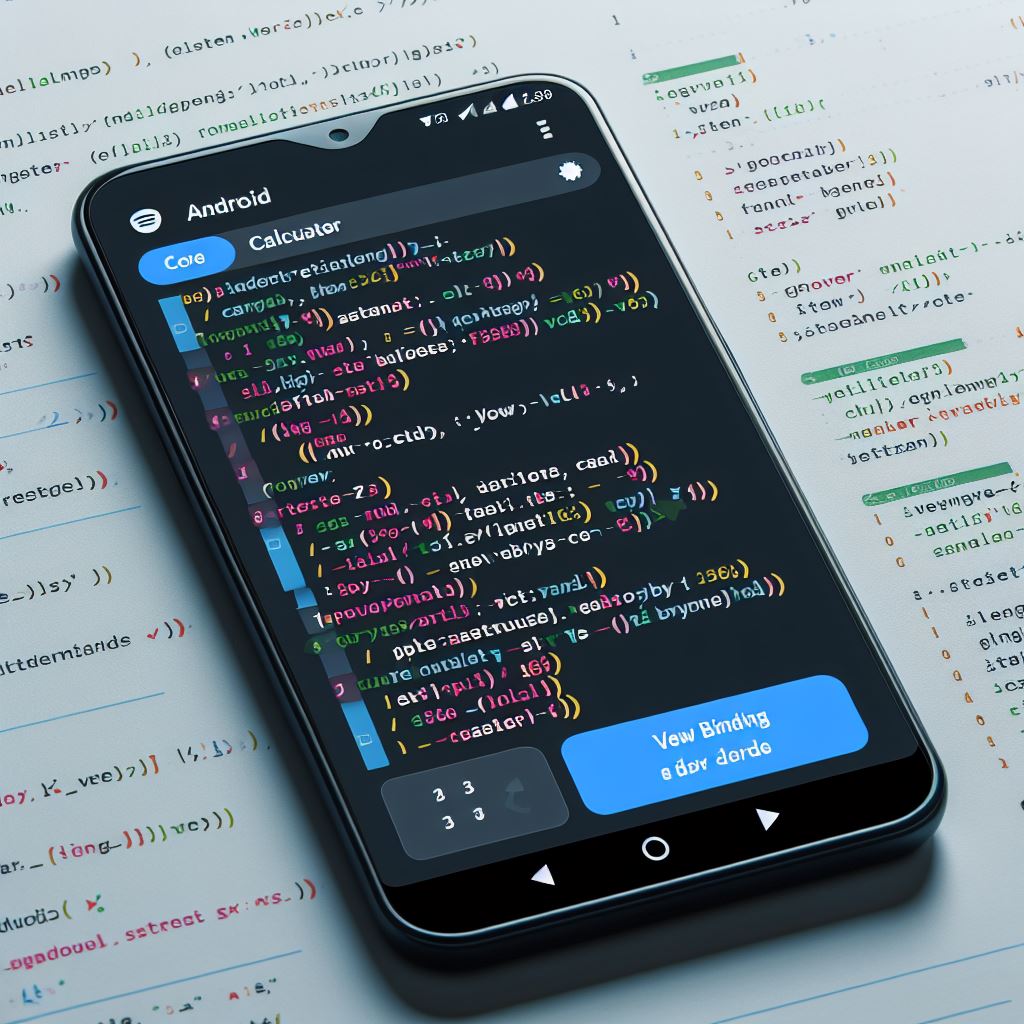
In the ever-evolving landscape of Android development, staying ahead of the game is crucial. One tool that has emerged to simplify and enhance the way we interact with views in Android is ViewBinding. If you’ve been wrestling with findViewById() and are eager to elevate your UI game, you’re in the right place. In this tutorial, we’ll walk through what ViewBinding is, why it’s a game-changer, and how you can seamlessly integrate it into your Android projects.
Understanding ViewBinding: A Breath of Fresh Air
Imagine your app’s UI elements as pieces of a puzzle scattered across a table. Traditionally, developers had to painstakingly search for each piece, hoping to find the right one with findViewById(). It’s like searching for a needle in a haystack, causing delays in your development process. ViewBinding swoops in like a helpful friend, neatly organizing those puzzle pieces into labeled boxes, making them instantly accessible. This makes your code cleaner and your development process smoother.
How to Use ViewBinding: A Step-by-Step Guide
Enable ViewBinding in Your Project:
- Open your
build.gradle(Module: app) file. - Inside the
androidblock, add the following:viewBinding { enabled = true } - Sync your project.
- Open your
Utilizing ViewBinding in an Activity:
- Open your activity, and replace the setContentView() line with:
private lateinit var binding: YourActivityBinding override fun onCreate(savedInstanceState: Bundle?) { super.onCreate(savedInstanceState) binding = YourActivityBinding.inflate(layoutInflater) setContentView(binding.root) } - Now, you can access your views directly via
binding.viewId.
- Open your activity, and replace the setContentView() line with:
Using ViewBinding in a Fragment:
- In your fragment, replace the onCreateView() method with:
private var _binding: YourFragmentBinding? = null private val binding get() = _binding!! override fun onCreateView( inflater: LayoutInflater, container: ViewGroup?, savedInstanceState: Bundle? ): View? { _binding = YourFragmentBinding.inflate(inflater, container, false) return binding.root } - Access your views using
binding.viewId.
- In your fragment, replace the onCreateView() method with:
Benefits of ViewBinding: A Paradigm Shift
Think of ViewBinding as a GPS for your UI elements, guiding you directly to your destination without unnecessary detours. This leads to concise, readable code, reducing the chances of bugs and enhancing overall maintainability. By using ViewBinding, you’re not just adopting a new tool; you’re embracing a streamlined approach to Android development.
Conclusion: ViewBinding, Your Development Ally
In a nutshell, ViewBinding is the superhero your Android development workflow needs. Its ability to simplify and optimize your code is a game-changer. By adopting ViewBinding, you’re not just coding; you’re crafting a seamless user experience.